
It’s not the size that matters, it’s what you do with it!
Keyboards come in all shapes and sizes, but if you’re reading this, you’re probably most familiar with one or two keyboard layouts: the so-called full-size, 100% or plain old “normal” keyboard, and the layout most laptops have. It’s the keyboard that you commonly see at brick and mortar stores, the keyboard everyone has at your local workplace, and of course the way the keys are laid out on many laptops, sometimes different, yet still comparable.
If you’re reading this, you’re also wondering about those other keyboards. They might be small, they might be split, but they have one thing in common: they don’t share a similar layout with the keyboards you’re familiar with, and often they lack some keys you use often, like arrow keys or the row with numbers. Yet, you’ve read that many people use those smaller keyboards, and you wonder how.
On this page, you’ll read about what makes a small keyboard work, and how to make it work for you.
Powered by QMK Firmware.
Every keyboard runs on software, even the one in front of you. Our keyboards run on QMK Firmware, which enables you to customize what each key does and much more. This page discusses techniques you can use with QMK Firmware. Curious to learn more?
The prime building block: Layers
When you think of a layer, you might think of a delicious cake, or maybe the layers of clothing you wear to keep warm during the winter. So what are layers when it comes to keyboards?
Chances are that you’re already familiar with layers. If you have a laptop, you might know of the Fn key. It’s often marked with blue text, and when you press it, some keys on your keyboard that are usually letters or numbers do something different when you’re holding the Fn key. Functions that you don’t use often, like volume or adjusting the screen brightness, might be hidden behind the use of the Fn key. On some laptops, keys that you usually type letters with, might be used to write numbers instead when you hold the Fn key.
What that key does, is activate a layer: the Fn layer. Similarly, pressing Num Lock makes the keys on your numpad do something different on a full-size keyboard, toggling between navigational functions like arrows and PgUp and PgDn, and the actual numbers on the numpad. Effectively, Num Lock activates a layer specifically for the keys on the numpad.
How layers work
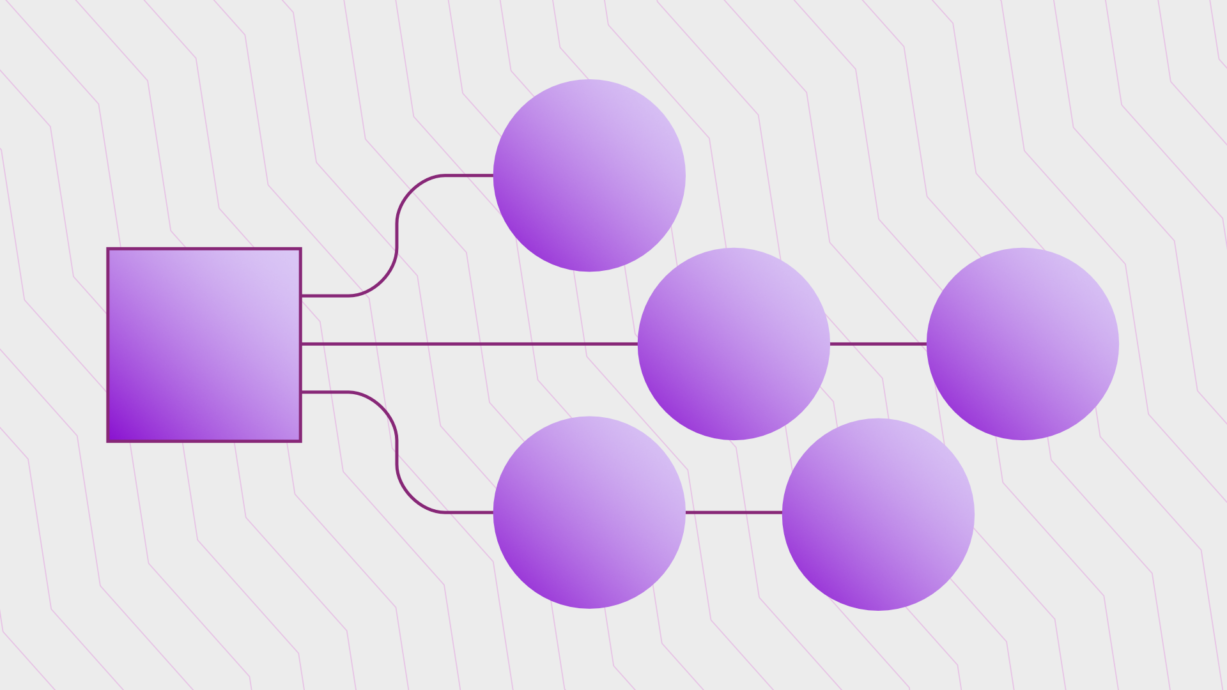
Let’s start with an example: a keyboard with just a single layer. This layer can also be called the base layer: it’s the layer that’s always active. Now, let’s add a layer with symbols. Additional layers don’t have a special name, they’re just called layers—but it helps to keep similar functions grouped on a layer so it’ll be easier to remember which key does what.
Layers are stacked on top of each other, with the base layer at the bottom. Using special keycodes, you can have buttons on your keyboard activate a layer. Then, when you press a button, your keyboard will check which layers are active, and then have your key do the thing mapped to it in the highest active layer in the stack of layers.
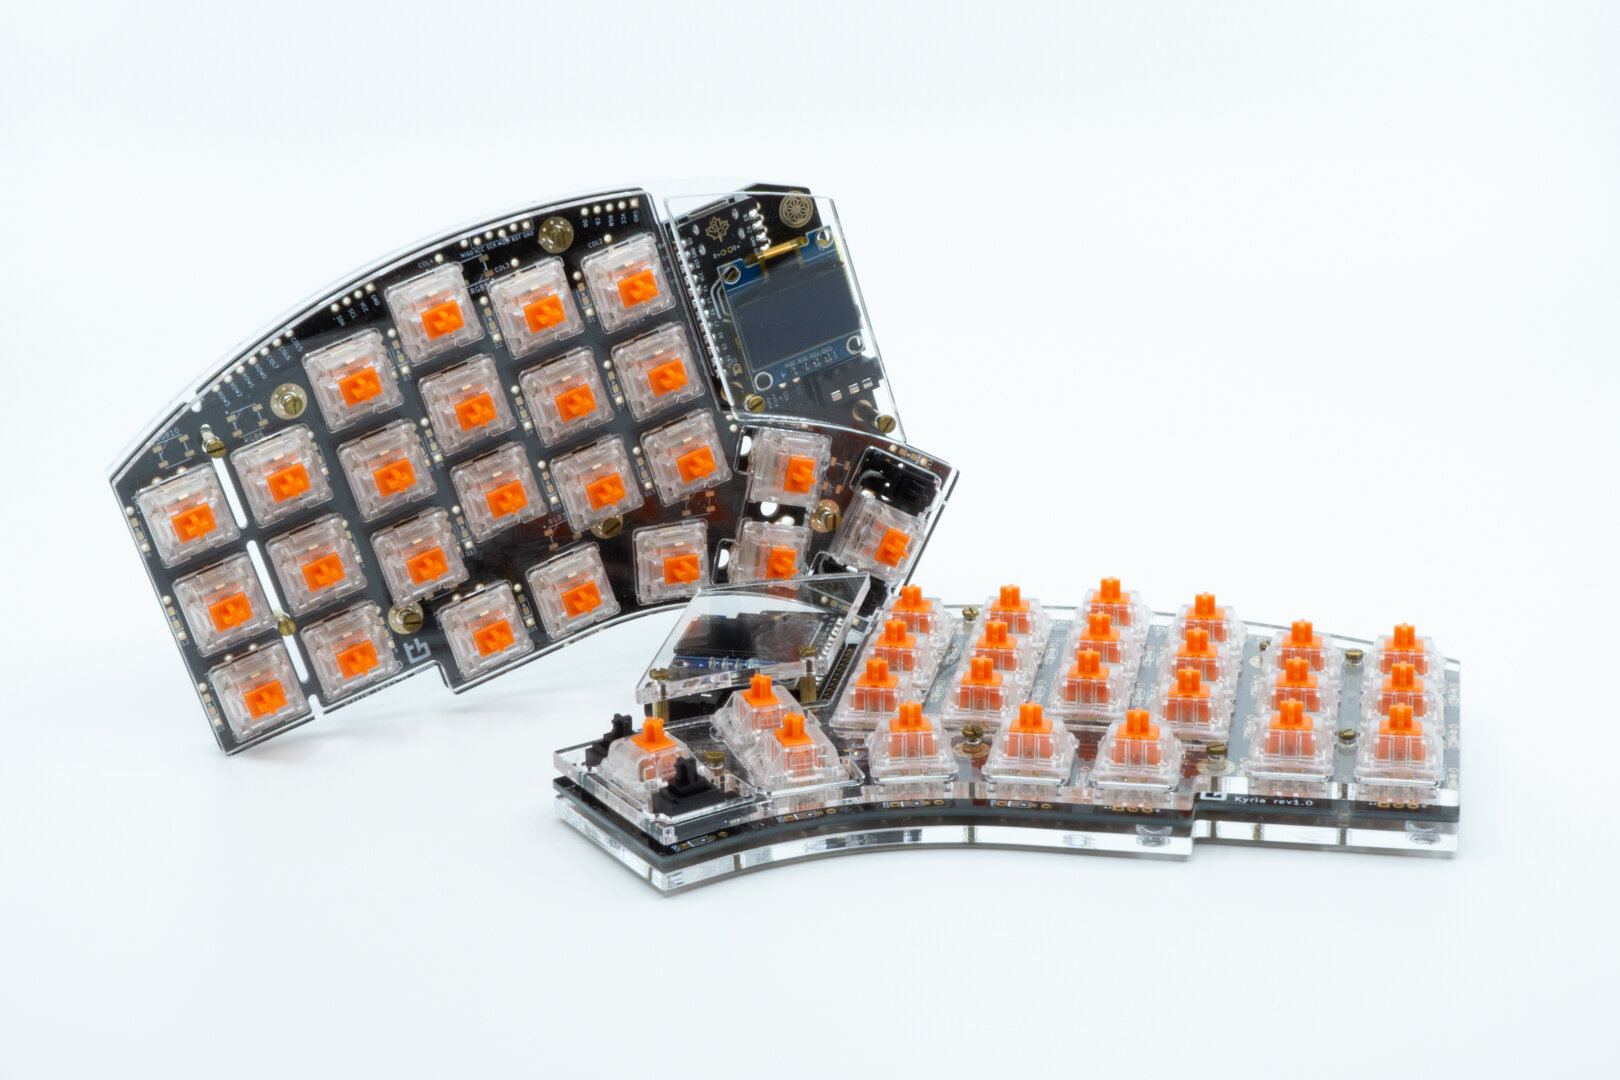
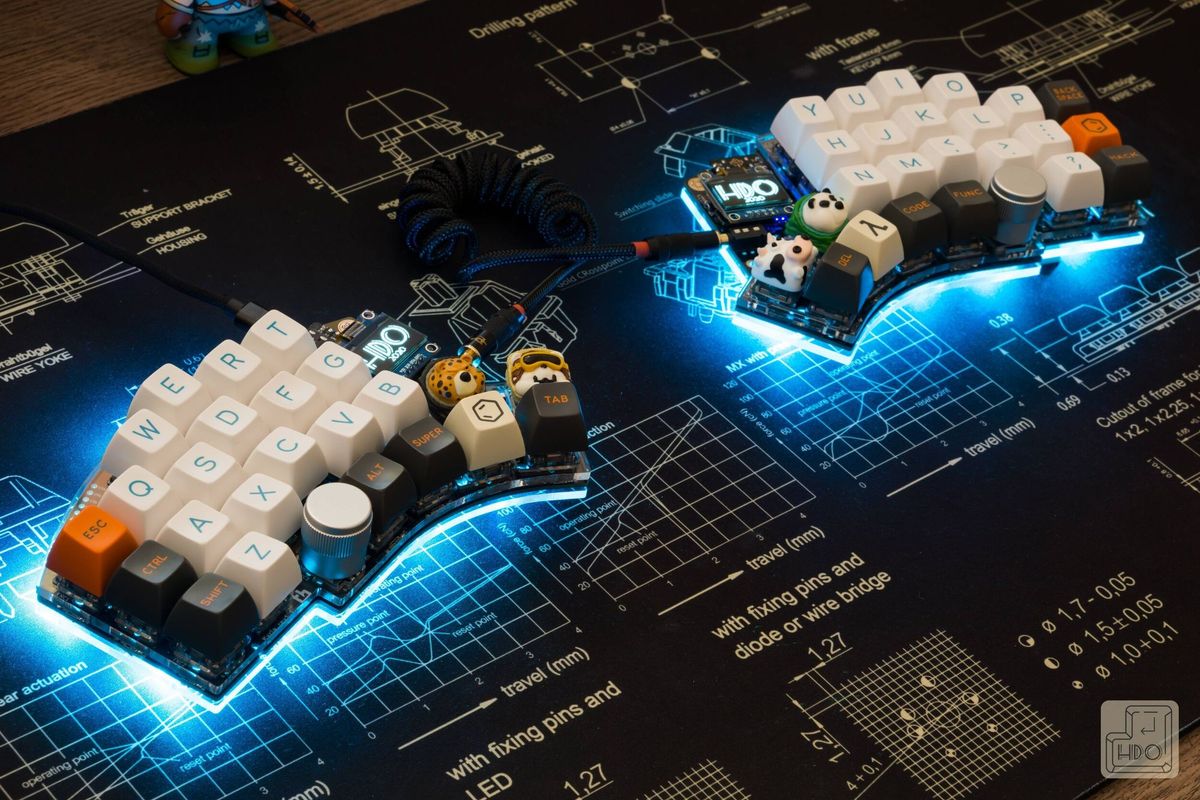
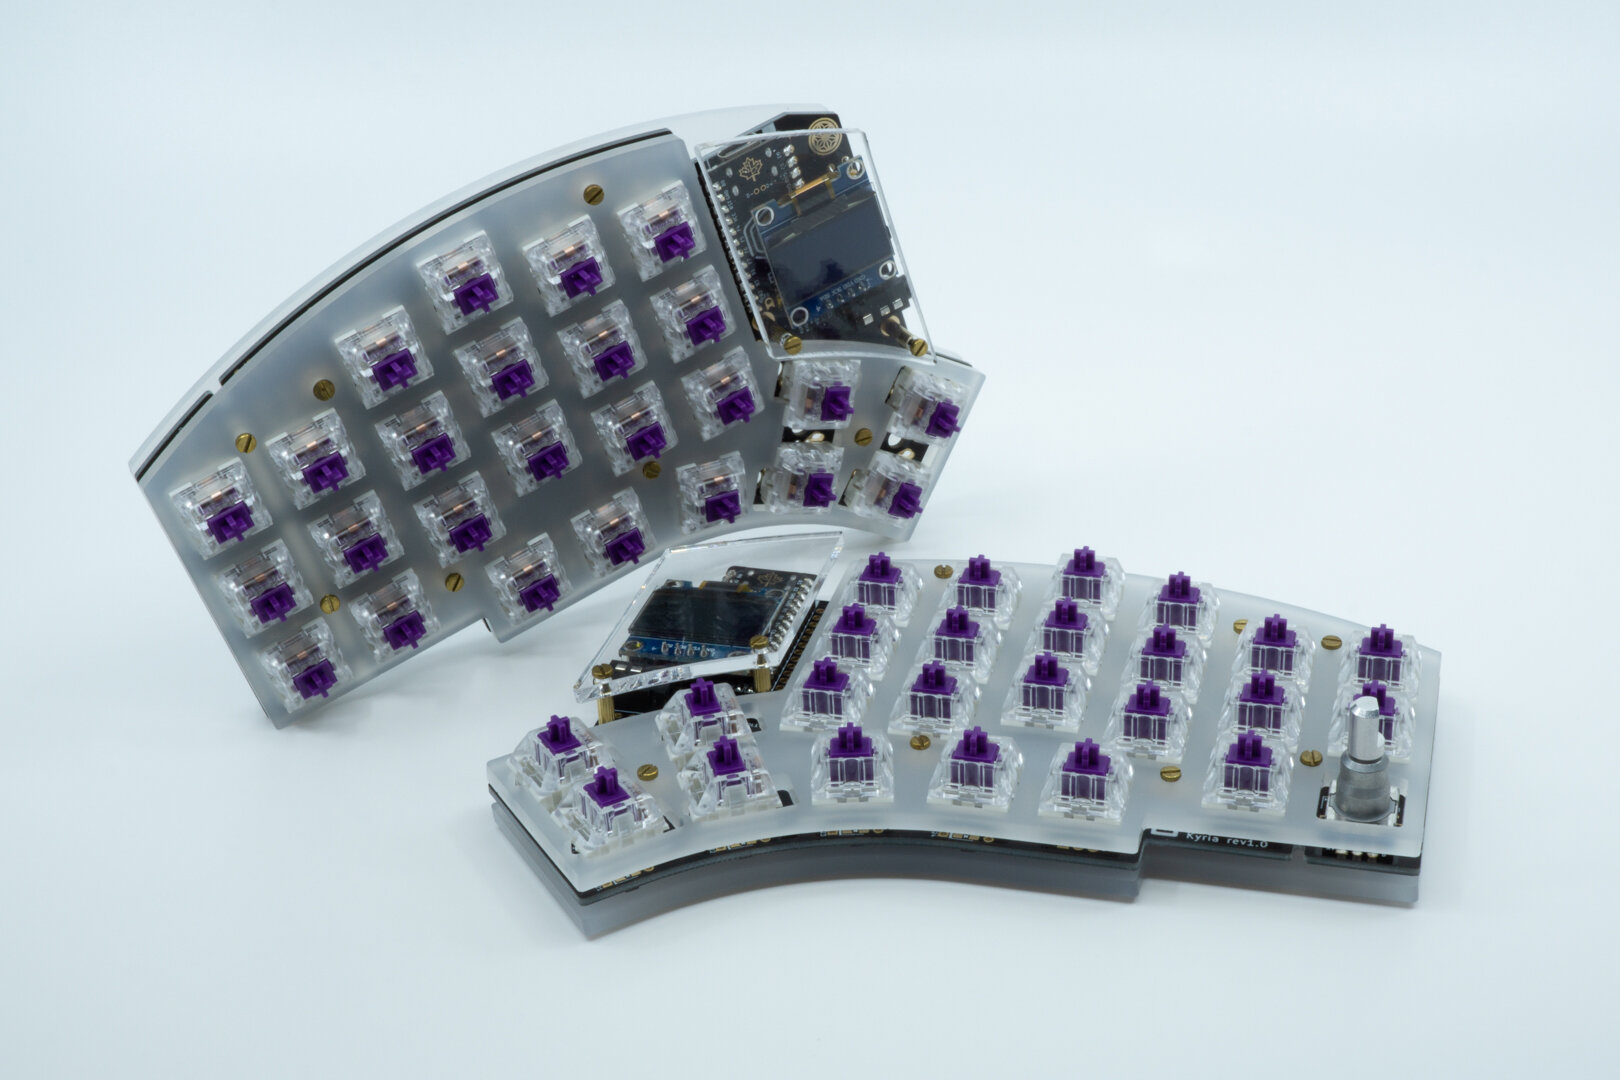
At splitkb.com, we make ergonomical split keyboards.
And we think you’ll like them. Build it as a kit, or have us build them for you. Easy to customize and comfortable to use. And when you have questions, we’ll be there for you: join us on Discord, or send us an email and we’ll get back to you. Try the Free Kyria Layout Tester
Working with layers
Working with layers is actually quite easy! Most of these keycodes are available in the easy to use Configurator, and are of course also available when writing your own custom keymap.
There are generally two ways to work with a layer: to toggle it on and off by holding and releasing a key, and to toggle it by tapping a key.
Holding a key to activate a layer
With keys like the Fn key on your laptop, the Fn layer will become and stay active as long as you hold the Fn key. Activating a layer by holding a key is the most common way to do so. Making a key active temporarily is also called momentary activation. These are the common keycodes you can use in both the QMK Configurator and in fully customized firmware:
- MO(layer) is the most straightforward of the bunch: it activated the layer when held, and returns you back to the layer you came from when you release the key. This is similar to how your Fn key works on a laptop.
- LM(layer, modifier) is the special flavor of the previous key: not only does it activate a layer, it’ll also hold one or more modifiers for you while doing it. Handy if you want to access a layer with shift activated without having to hold shift too, for example.
- LT(layer, keycode) activates the layer when held, and sends the keycode when tapped. This is ideal to use with keys you won’t usually hold, like space or enter.
Toggling a layer on and off
With keys like the Num Lock, a layer is toggled on or off when you tap on the Num Lock key. Toggling layers works similar to this.
- TG(layer) toggles the layer. This is most similar to the Num Lock key.
- DF(layer) toggles the base layer. Normally you’d have your usual letters on the base layer, but if you want to make another layer permanently active, you can do it with this. Handy for when you want a dedicated Windows and Mac layer to easily switch between the two, or when you’re an avid gamer and want your custom game layer to remain active.
- TO(layer) activates a layer while deactivating all other layers. This one’s slightly more complicated—don’t forget to add a key on the layer to move back to your previous layer, or you might get stuck!
- OSL(layer) activates a layer until the next key is pressed, also called One Shot Layer. Handy if you want to do just one thing on a layer and jump right back.
- TT(layer) is a combination of MO and TG. If you hold the key down, it’ll activate the layer and then deactivate it when you let go. If you tap it a configurable number of times, it’ll toggle the layer on or off.
Of course, there’s much more to customize. You can read all about layer functions in the QMK Documentation.
Common Questions
Isn’t using layers awkward?
The main benefit of using a smaller keyboard is that you won’t have to move your hands as much, and often you don’t need to move your hands at all anymore. While this does mean that you’ll have to rely on layers and other tools to access keys, the end result is that using your keyboard becomes more comfortable over time as you get used to not having to move your hands as much. Quickly, you’ll probably wonder how you worked without it!
Do I need to know how to program to use all this?
You don’t have to! QMK has an excellent configurator you can use to visually set up your keyboard the way you want it. The configurator offers much of what QMK has to offer, and it’s the easiest way to get started.
If you want to utilize all of QMK, including using some of the features on this page, customizing your firmware with code is necessary. It’ll be a bit more involved, but there are plenty of samples and guides to help you get started.
Won’t I miss my numpad?
If you’re accustomed to using a numpad for your work, you might want to get a dedicated numpad next to your keyboard. Using layers, however, it’s very easy to make a layer that emulates a numpad, with the keys arranged like a numpad overlaid on your normal keys. Many people find this comfortable to use as well, since you won’t need to move your hand to the side, and gain some desk estate by not needing the extra space.
More tricks up your sleeve
Next to layers, there are some handy tools QMK offers to make using your keyboard more efficient. Some of these tools may require you to modify and compile your own keymap.
Mod-Tap
Some keys on your keyboard are only ever tapped, while others are only ever held. When is the last time you tapped the Shift key, for example? You can reuse these keys for tapping with the help of Mod-Tap, so that you’ll be able to use those keys for two purposes. Especially on a small keyboard, reusing keys can make all the difference.
Mod-Tap keycodes can be used with the configurator, and do not require custom code. By writing custom code, you can apply more fine-grained configuration, however.
Learn More
Advanced Keycodes in the QMK Documentation
Tap and hold actions: Tap into your modifiers by Thomas Baart
Tap Dance
While tap dancing on your keyboard is probably not recommended, it is a useful way to get some more mileage out of a key. With it, you can make a key do something different depending on the number of times you press it.
Learn More
Tap Dance in the QMK Documentation
Tap dance, or how to let a key do more with one, two, three by Thomas Baart
Leader Key
One of my personal favorites, the Leader Key enables you to access text and shortcuts by hitting a dedicated key, followed by a sequence of other keys. I find this most useful for text expansion, or to simplify more difficult keyboard shortcuts. All in all, a good way to enhance your productivity on a small keyboard.
Learn More
Leader Key in the QMK Documentation
Leader Key, using sequences for shortcuts by Thomas Baart
One plus one is three
Tri Layers
Popularized by the 40% form factor Planck keyboard, tri-Layer state means that activating two layers instead activates a third layer. Especially on split keyboards, it’s comfortable to use your thumbs to activate layers. To save some precious key-estate, you can opt to use tri-layer state to access a layer with less often used functionality like changing keyboard settings as underglow or key backlight, or to access infrequently accessed macros and shortcuts.
You can read more about using Tri Layers in the QMK Documentation.
Combos
Another tool you can use that makes more out of several keys is the Combos feature. With combos, you can chord multiple keys together to output another key or perform another action instead.
More Resources
This blog is only a tiny part of the knowledge available about QMK. Do you want to learn more? Check out one of the resources below.
An Introduction to QMK Features
Looking to get more power out of your keyboard, but don’t know where to start? Another page on this blog covers the topic accessibly, pointing you to the right way. An Introduction to QMK Features
The QMK Documentation
The QMK documentation is the definitive, most comprehensive and up-to-date resource on all that QMK has to offer. Here you’ll find both an introduction to the Configurator, as well as the very useful Newb’s Guide for getting started with writing your custom firmware. Read the QMK Documentation
Splitkb.com Documentation
Like QMK, we also have our own documentation specifically for products we sell. From frequently asked questions to troubleshooting your keyboard build, we have most topics covered. Still can’t find what you need? Send an email to support, and we’ll get back to you. Read the splitkb.com Documentation